This project began when I read the publication from CMP titled "Tom Johnson's Sporter Tips".
While I believe that every coach or leader that uses the Daisy 853/753/888 rifles should have this, I felt that the stock buildup section was too much work if there were multiple stocks to be built up. I figured that an overmolding process would be much easier.
This page describes the steps we use here in the Valencia
County 4-H program here in New Mexico.
Home
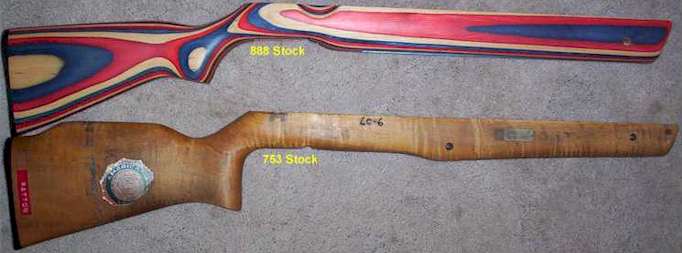
It will increase the weight of the rifle, and while I've found this is not for my younger shooters, the raised cheekpiece and deeper pistol grip gives better control to my older shooters (12years and up)
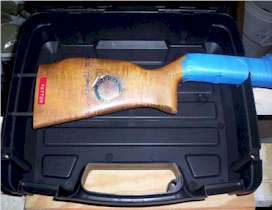 |
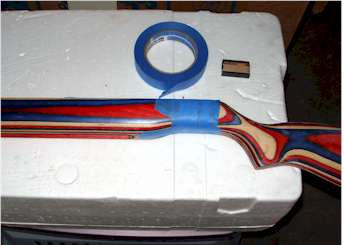
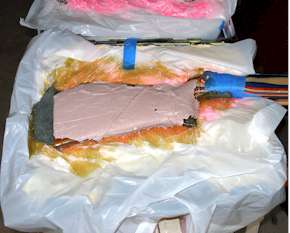
The first step was to make the mold. I used an inexpensive pistol case and with some cutting and drilling I mounted the 753 stock with two of the buttplate screws, and used a portland cement mix poured inside plastic kitchen trash bags to make first, the bottom part of the mold, and then the top. |
 |
|
I'd suggest the leader to make the first unit as this is where I get the shooter involved. In this process there is probably at least 5 hours of work, and they seem to take better care of the rifle if they put some effort into it. They can get cash from Mom & Dad, but their elbow grease is a bit more valuable to them. They begin by removing the 888 stock and taping up areas we don't want any filler to get into. Simple masking tape is enough. |
 |
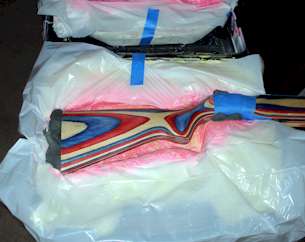 |
When you make the mold and then you try and fit the 888 stock into it, you will find there are some areas you need to chip out. Believe it or not, there are some areas where the 888 stock is bigger. Mainly on the upper side of the stock forward of the cheekpiece, and also just forward of the trigger. Using a portland cement mix w/o aggregate (rocks) makes it very easy to use a screwdriver to easily chip and scrape these areas away. We fit a plastic bag over the cemet mold to keep the resin from sticking to the mold. We get the plastic to stick to the cement with a quick spray of spraypaint. Remember to do this for both the top and bottom sections of the mold. ... Next we use some modeling clay or electricians clay to fill the area of the butt and making dams forward of the neck to keep the resin out. |
 |
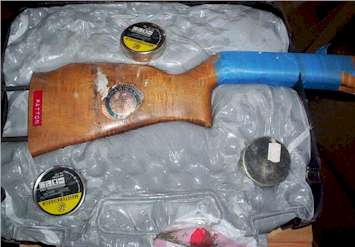
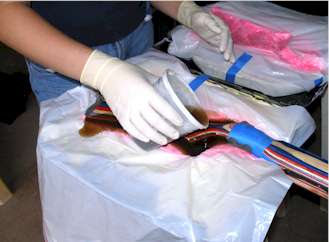
While I supervise, the shooter mixes up about 2-1/2 cups of fiberglass resin. Make sure they wear gloves. Also we mix the resin with about 5% more activator than recommended so that the resin cures pretty quickly ... and hot ... the resin cures at over 150°F. I have them pour the extra resin into an empty pellet tin(s) ... if you set this on styrofoam while it sets, it will melt the foam! |
 |
|
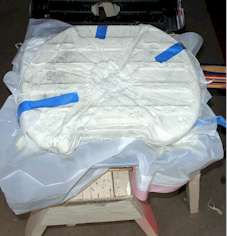
It's OK to pour more than necessary ... less filling later. Just don't take too long. The "gel time" of this resin is only about 15 minuites. Now the waiting begins. Probably about an hour. I do usually snap the case lid closed to make sure all areas get a good fill |
 |
 |
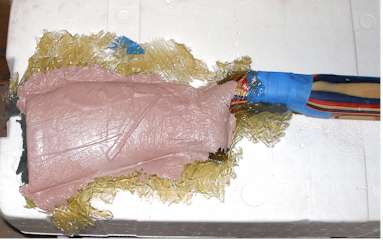
Since this method does not pour from the butt or from the trigger side (I consider this to be too big of a risk of filling areas you don't want to), you won't fill every nook & cranny. Here is where the auto body filler comes into play. We open the mold and you will certainly see areas unfilled. Mix up a batch of filler, slather it on heavy and slap the mold top back on, close the lid and I like to pile extra weight on top. After this sets ... no more than 10 minutes, you might have to do the same for the bottom. Remove the stock, fill the areas and press into the bottom side of the mold until this is set up as well. |
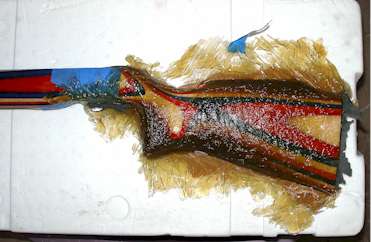 |
Pretty Ugly. The only thing to be careful with there is that some of the edges can be sharp .... gloves are recommended for the next few steps |
 |
 |
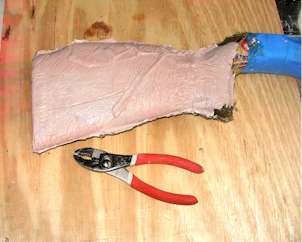
A pair of pliers and 5 minutes of work cleans this up nicely. |
 |
 |
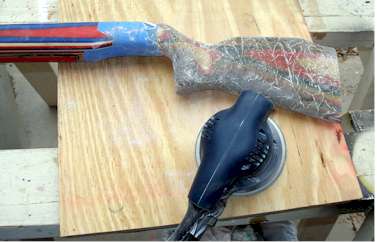
A heavy rasp and a sander (use a face mask here) along with about 30-45 minutes starts making it look as if you have not totally ruined the stock! |
 |
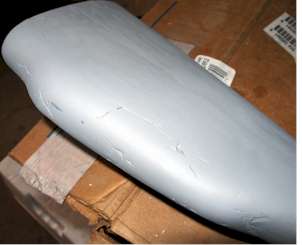 |
Hese's where you can teach patience. You will probably need a few times of filling low areas with the body filler and sanding ... this is where the most time is put in. The more they work to make it nice, the more thay will like the result when they paint the stock. It is very easy to put 4-5 hours in here This picture was taken after 2 more fills and sanding ... 4 more were required after this. It's worth it to take the time |
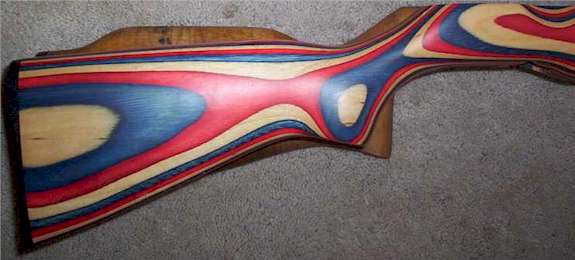
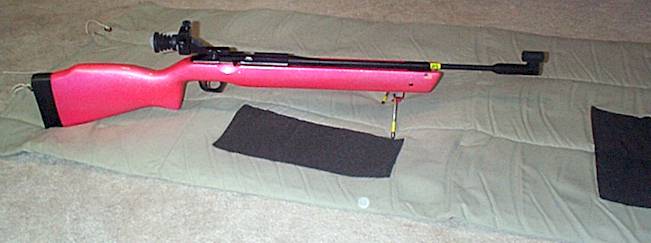
So my impressionable shooter, absolutely had to get this color. Makes quite a stir walking into a JROTC shoot with this puppy.
Another shooter is a John Deere Fan .... Guess what color her rifle is?
|
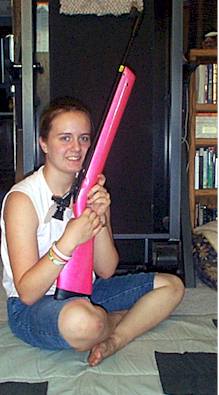
A happy shooter and her project
|
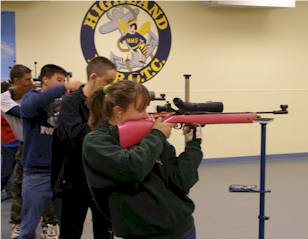
Shooting in a recent FINAL
 |